Creating engineer signatures
You can add an image file against each engineer containing their signature so that it will be automatically used in the printed reports.
Note
If you prefer to print and sign your certificates, just leave the signature unset and sign the paper after printing.
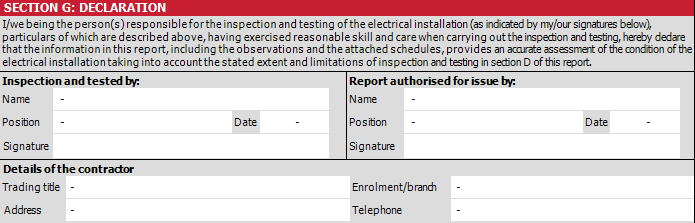
When Pirform prints the signature it fits it into a space approximately 200 x 30. Here is a section from a certificate to show how that looks.
You can easily create an image of the engineer's signature by following the steps below.
Create signature file using a tablet
If you have a table then you can use it to create an image file and then sign it using either your tablet's stylus or your finger.
Create signature file using pen and paper
If you don't have a tablet, then you can sign a piece of plain paper using a gel or narrow nibbed felt pen. Then take a photo of the signature and save that to an image file.
Crop the image to the correct proportions
Use an image editing tool such as the Paint program that comes with Windows to "crop" the signature (which means to cut around it), aiming for something in the proportions of 20 across and 3 down. You can read how to crop using Paint here. Then save the image file to the same computer that you are using Pirform on.
Adding the signature to the engineer
The last step is to add the signature to the engineer. You can do this by selecting the engineer, click Select Signature in the ribbon and choose the signature file you have just created.
