Adding photos and documents
Pirform lets you add photos and other documents, such as Word documents and PDF files to your certificates.
Photos can be attached to observations or to appendices. Word and PDF documents can be attached as appendices.
You can edit your photos inside Pirform
Pirform has a built-in photo editor that lets you change your photos after you've added them to the certificate. Read more below)
Photos and appendices videos
Watch how you can work with photos and documents in Pirform in the following video.
Shine Forms YouTube Channel
Find other videos about Pirform and Shine Forms on our YouTube Channel.
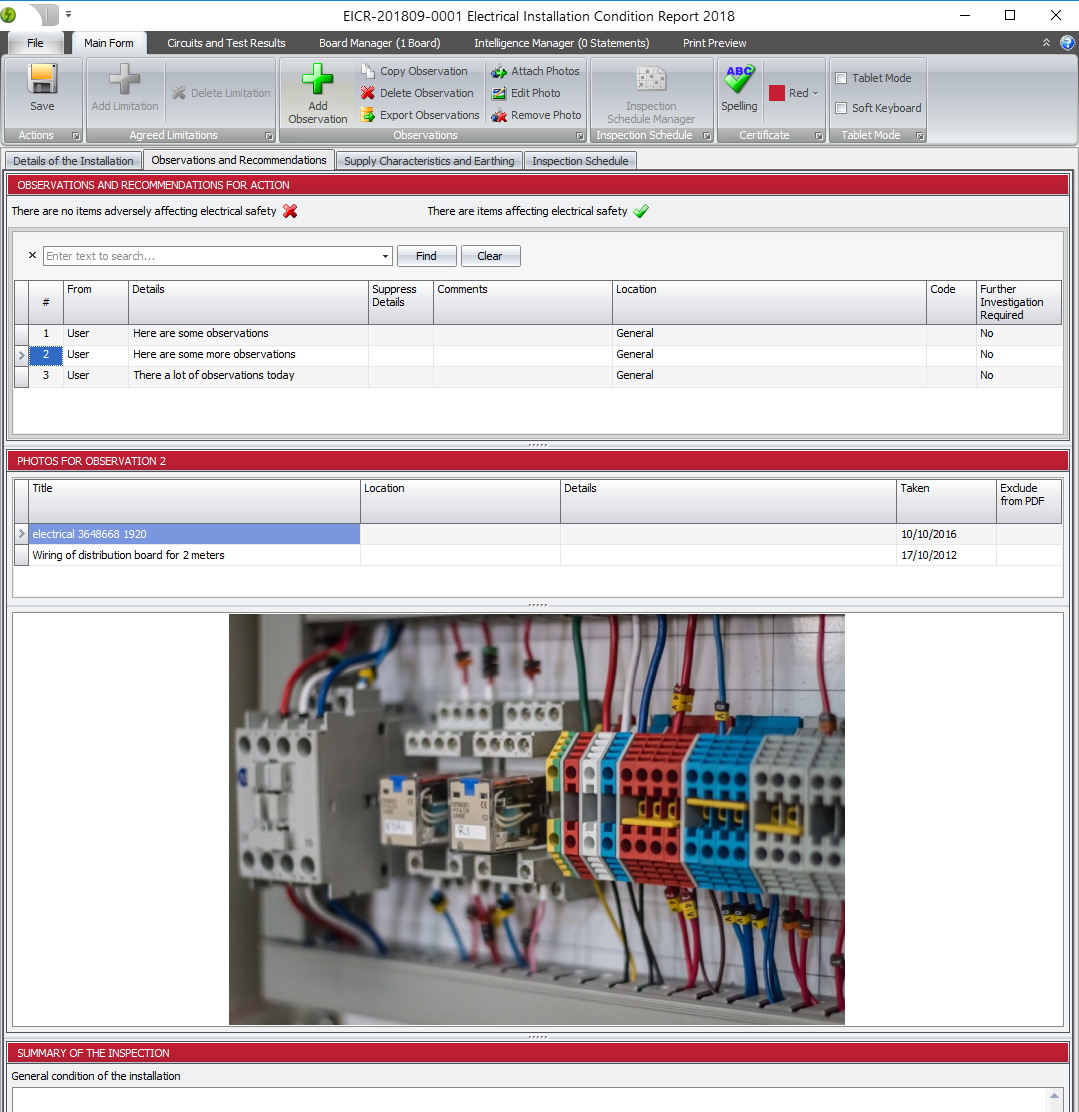
Photos in observations
You can attach one or more photos to any observation in an EICR or a pre-release EIC and also attach documents and photos as appendices.
Info
When you add a photo, Pirform takes a copy of the original photo. So, you can delete or change the original photo without affecting the photo in your certificate.
To attach a photo, select an observation, click Attach Photos and then select the photo you wish to add. Once added, photos can be adjusted using the photo editor.
Working with appendices
You can create appendices for the latest electrical, fire alarm and emergency lighting certificates and add text, photos and documents to those appendices.
Info
When attaching a document, Pirform saves a copy of the document as images and does not change the original document. Keep a copy of the original document if you need to use it again.
To add an appendix, go to the Appendices section and click Add Appendix. The ribbon also allows you to remove appendices and to move the current appendix up or down to control where it prints.
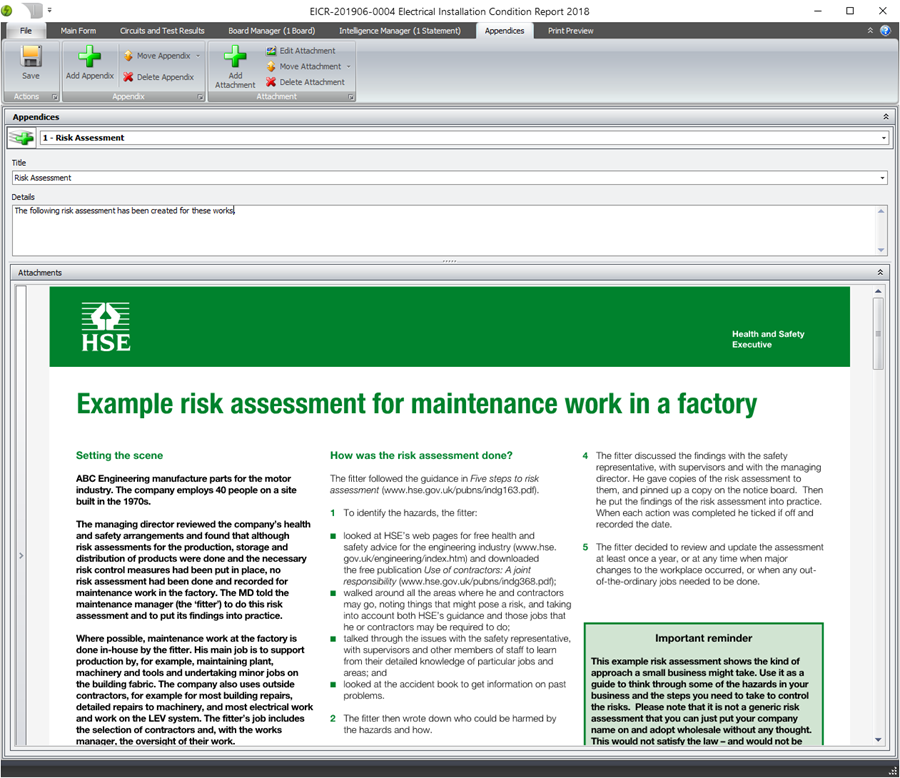
Click Add Attachment to add a photo, Word document or PDF to the appendix. The document is broken down into pages and each page is attached as a photo. Margins are automatically removed so that they do not appear twice in the printed certificate (this behaviour can be adjusted from the print section of Pirform Options). You can also remove whitespace margins using the photo editor.
Info
You can attach a mixture of documents and photos to any appendix. Just keep clicking Add Attachment and selecting the document or photo you want to appear in the appendix with the certificate.
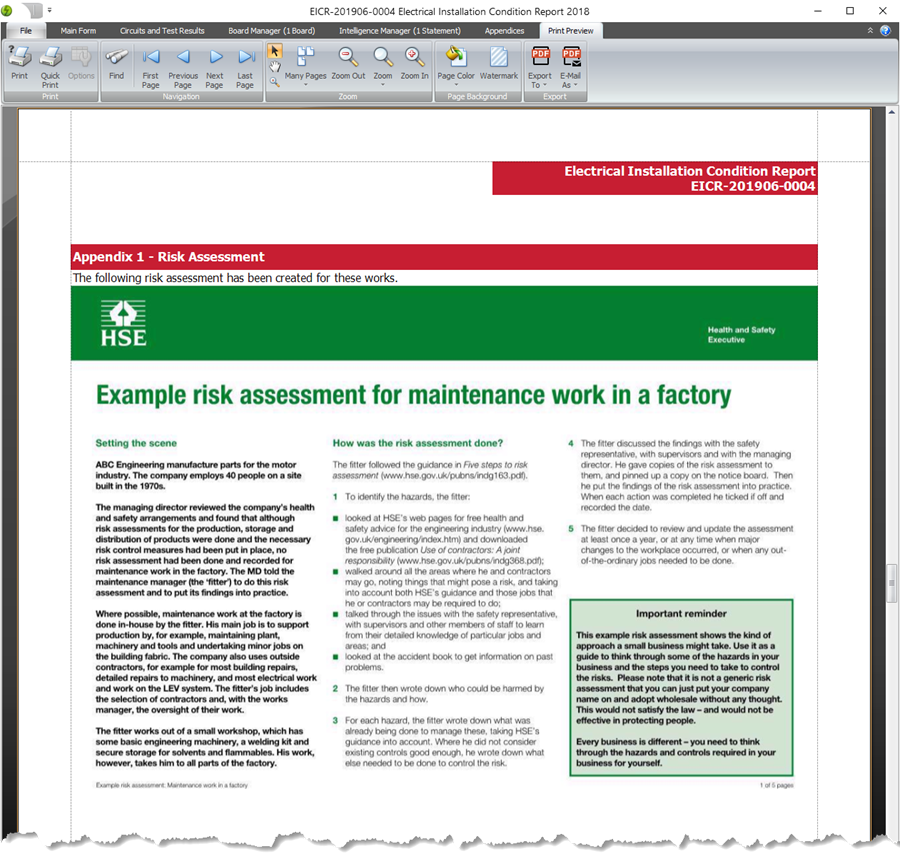
The attachments will show in the printed certificate or PDF. The attachments are shown in portrait layout and documents in landscape format are shrunk so as to fit into the page.
Editing photos
You can make changes to a photo using Pirform. Clicking on Edit Photo or double-clicking the photo opens the Photo Editor.
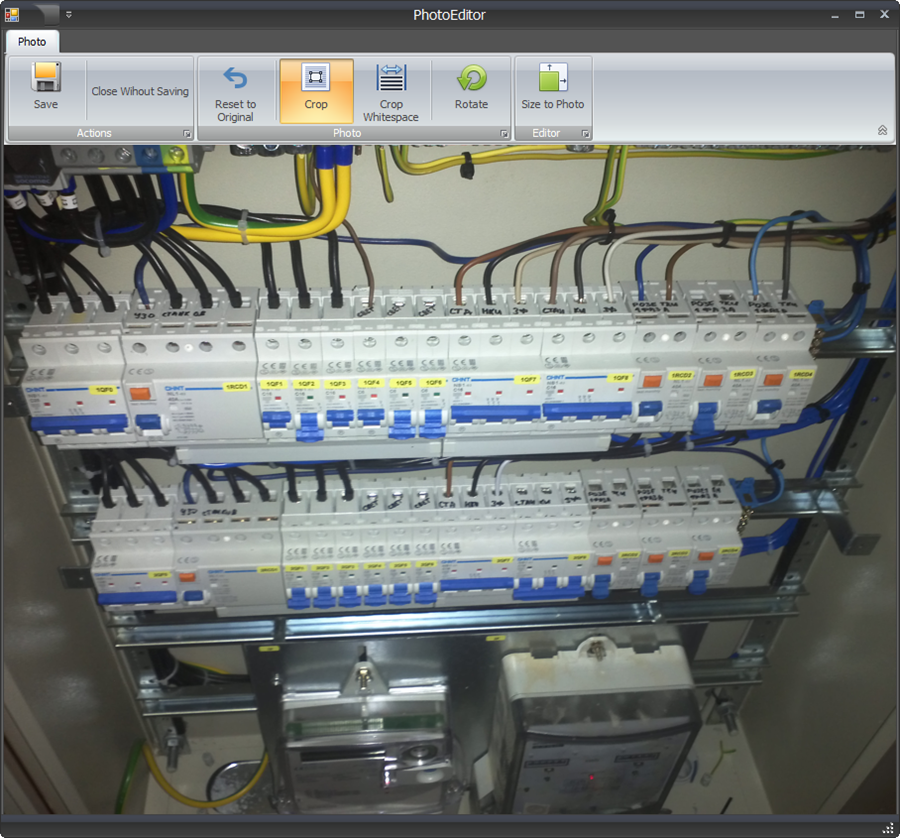
The buttons in the ribbon allow you to crop and rotate the photo.
Save and Close Without Saving
Save will save your changes back to the certificate you're working on. Use Close Without Saving to abandon your changes and close the photo editor.
Reset to Original
This abandons your changes and returns the photo to how it was before you made changes, leaving the editor open.
Crop
To crop a photo, make sure the Crop button is down and then drag over the area you want to show. Pirform will adjust the photo to show only that area.
Crop Whitespace
If you have loaded a PDF or Word document then the margins may show as whitespace around the main document. You can automatically remove this whitespace by clicking Crop Whitespace.
Rotate
Rotates the image 90 degrees anticlockwise.
Size to Photo
Changes the size of the photo editor to match the size of the photo.